Clients struggling to share access to their
accounts? Get the access you need in minutes with a free trial of Leadsie.
14 day unlimited free trial
Extend until you onboard a client
No credit card required
Keep access to clients if you cancel

With easy one-link access requests for 13+ platforms your campaigns can go live in minutes, not days. Start free today.
Approved by Meta, Google & Tiktok
Keep access to clients' accounts if you cancel
Secure & 100% GDPR compliant


TL;DR: This article explains how to get allowlist access from an influencer or creator via Partnership Ads Hub, Leadsie (the fastest way), and Meta Business Suite.
Working with multiple influencers across campaigns? Your team is likely spending precious hours on administrative tasks to onboard influencers and chase partner access.
These days, influencer whitelisting has gained more traction among brands and advertisers as a way to leverage authentic influencer-generated content (IGC) to run ads that don’t look like ads. 88% of consumers have made a purchase based on an influencer’s recommendation, with influencer marketing being the most effective among the 18-34 age group.
In an agency world where you need to protect your margins and shorten time-to-value to improve client retention and satisfaction, waiting around trying to whitelist new influencers will only put a strain on the team’s time and delay campaign launches.
We’ll cover the steps to allowlist an influencer so that Meta ads can be run through the influencer’s identity while controlling audience targeting and budget.
Note: We will be using the term ‘allowlist’ to replace the older term, ‘whitelisting’
In a rush? Skip ahead:
💡 Note: At the point of writing, Partnership ads and boosting organic branded posts are not available on Threads yet.
Influencer allowlisting (also known as whitelisting, creator licensing, or permission listing) for Meta Ads is when brands or agencies get permissions to run ads using an influencer’s content, audience, and profile identity. Advertisers can boost influencer-generated content (IGC) or new content as a ‘dark post’ that only appears in the feed of selected audiences.
There are a total of three methods to allowlist influencers for Meta:
🔗 Running creator ads on TikTok too? Here’s a guide to TikTok Spark Ads allowlisting.
Influencer whitelisting (AKA allowlisting) in Meta refers to the process of getting permissions to run paid social ads on an influencer’s Facebook, Instagram, or Threads account.
The main benefit of allowlisting influencers is the ability to leverage a creator’s creativity, profile identity, and followers to create more authentic, convincing ads that don’t look like ads.
To do so, the brand or advertiser has to get allowlisting access to an influencer through the Partnership Ads Hub, Leadsie (fastest method), or Meta Business Suite (not recommended), all without sharing passwords or login details. Both parties decide on how long the advertising access is required, which can be revoked when necessary.
In the Meta ecosystem, there is no specific feature named “whitelisting” or “allowlisting” as the older branded content ads workflow has been replaced by the Partnership Ads Hub.
These are the key Partnership Ads updates in 2025 and 2026 that make it easier to scale influencer whitelisting workflows:
Prior to that update, allowlisting/whitelisting influencers for Meta Ads used to revolve around the older ‘Branded Content Ads’ feature. It mostly involved dual-handle ad titles featuring both the brand's and the creator’s handles, as well as a clunky workflow.
These days, there is no need for the ‘Paid partnership with…’ label as ads are now labelled ‘Sponsored’ and can be either single- or dual-identity.
For e-commerce brands, your products can be in the right places through Advantage+ Catalogue Ads that will dish out smart product recommendations based on interests, intent, and user actions.
Related articles: 🔗 How to Get Access to Meta Catalogues and
🔗 How to set up a Meta Catalogue in Commerce Manager
We’ll explain the full permissions required in the steps to allowlist an influencer for running Meta Ads below.
When you request allowlisting access through Partnership Ads Hub, you won’t need to know their business portfolio ID or their email address to complete the process.
These are the steps to request account-level permissions via Partnership Ads Hub.
Step 1: Go to Partnership Ads Hub with this direct link: https://business.facebook.com/latest/partnership_ads_hub
Step 2: Click ‘Partners’ on the left-hand menu, then ‘Add Partnership’

Step 3: Click on the drop-down field and type in the influencer/creator’s username. Select the appropriate assets and accounts, click ‘Done’, then click ‘Next’

Step 4: Choose which of your business assets will partner with the influencer, then click ‘Next’.

Step 5: Review the request, then click ‘Send Request’.
The influencer gets notified and can approve your request directly in their Instagram or Facebook app. Once they accept, you have ongoing access to create partnership ads from their account without having to request permission for each post.
🔎 Need to remove that access later? Here’s how to disconnect a whitelisted influencer on Facebook or Instagram.
When giving or requesting access to Partnership Ads, this will help you to choose the right level based on the type of collaboration with your influencer/partner.
✅ Ongoing access; For long-term partnerships
✅ Advertisers can create partnership ads from a partner’s handle without pre–existing content
✅ Also allows agencies and brands to run ads on content a creator provides or from any of their posts where the brand is tagged, including archived content
✅ No approval flow needed to run ads for every post
✅ One-off collabs and partnerships
✅ Creators and influencers have the ability to choose which posts a brand can turn into partnership ads
✅ Scale campaigns without chasing approval for every piece of content
Note: This guide only covers account-level permissions
🔗 Related article: How to create Meta Partnership Ads for Influencer Marketing
Leadsie removes the need for influencers to navigate Meta Business Suite. Instead of waiting on Business IDs, sending lengthy PDF instructions, and troubleshooting access issues, you send one secure link and get the correct permission levels in a few clicks.
The best part? You can send the same secure Leadsie link to multiple influencers at scale to save hours of admin work and launch campaigns faster ⚡️
Watch how Leadsie works for whitelisting (allowlisting) influencers:
Leadsie gets you these allowlisting permissions on Meta in a few minutes:
“Since using Leadsie, it’s just very streamlined. It probably cut that process down by at least 50%, maybe even more. Now, all we do is send them a link…”
— Jasmine Yoong, Founder & Director @ Envision Agency
Try creating your own Leadsie link for allowlisting influencers at scale with a free 14-day trial. No credit card needed!
💭 P.S. You get to keep all connections made during the trial with no strings attached 🙌
💡 Editor’s note: Use this method only if you do not have access to Partnership Ads Hub or Leadsie. This is the older workflow with more steps and coordination needed between the influencer and the brand. It often requires additional emails and calls to sort out the correct permission levels.
Step 1: Go to Meta Business Suite’s Settings via this direct link: https://business.facebook.com/latest/settings. Check that you’re in the right business portfolio.
Steps 2 to 4: Under Users, select ‘Partners’ > ‘Add’ > ‘Ask a partner to assign you their assets’ > click ‘Get started’

Step 5: Add the new partner’s (influencer’s) details, including their business portfolio ID (here’s how to find it). Click ‘Next’

Step 6: Select the influencer allowlisting/whitelisting permissions you need. You’ll have to do it separately by selecting ‘Facebook Pages’ and ‘Instagram accounts’.

These are the suggested permissions you request for: Community activity, Ads, and Insights (for both Facebook Pages and Instagram). Click ‘Next’ when you’re done.

Step 7: Review the details and click ‘Send request’

Step 8: Ask the influencer to check their inbox for the partner request email and click ‘View request’ > ‘Respond to request’ (while in Meta Business Suite).

⚠️ Do note that the influencer/creator has to manually select the assets and permission levels all over again while responding to your request.
Yes, you did state which permissions you need, but since this has to be done manually, there is a chance the influencer will give you insufficient permissions at this stage.
💡 Pro Tip: Always double-check what permissions you’ve been assigned in your Meta Business Suite > Settings > Partners > Assets assigned to you.
To avoid these back-and-forths, use Leadsie to automate the access requests securely, especially for multiple influencers!
Summary: An alternative to full influencer allowlisting is to use the branded content tool to tag organic influencer-generated content (IGC) as paid partnerships, which can then be turned into ads.
Branded content consists of organic posts where a creator tags a business partner. These are not ads by default as they appear naturally in an influencer’s feed.
However, it’s limited to boosting existing content and doesn’t provide full allowlisting access; Brands can’t create new ads from the influencer’s handle, run dark posts, or scale campaigns across multiple creatives.
Businesses can later convert this organic content into ads through whitelisting (allowlisting), making it a perfect low-friction entry point for smaller brands looking to test influencer collaborations before committing to a full influencer marketing campaign.
💡Pro tip: Branded content tagging is not a replacement for influencer allowlisting.
Meta’s Branded Content Tool is used for tagging branded content whenever there’s an exchange of value between a creator and a business partner. Influencers and creators can use it to tag a business in branded content without using the paid partnership label. Check out Branded Content Policies for Instagram or Facebook for full guidelines.
Influencers, creators, or publishers first need to enable the branded content tool on their account. After that, creators can start tagging brands and businesses in their posts (which is still subject to approval unless they already have prior approval).
The branded content tool has to be set up separately for both Facebook Pages and Professional Instagram accounts (creator or business).
After the influencers have enabled or set up branded content, you can give them permission to tag your brand.
Go to the Instagram app > ‘Settings and activity’ > ‘Business tools and controls’ > ‘Branded content’.
Under the Paid partnership label, you can choose to:
1) Toggle off the need to manually approve content creators. This means anyone can tag your business in their branded content, whether or not you know them.
2) Select ‘Approve content creators’ > Type in the username of the creator > Click ‘Approve’ beside their name
You can now go and create ads from the posts the creator has tagged your brand in.
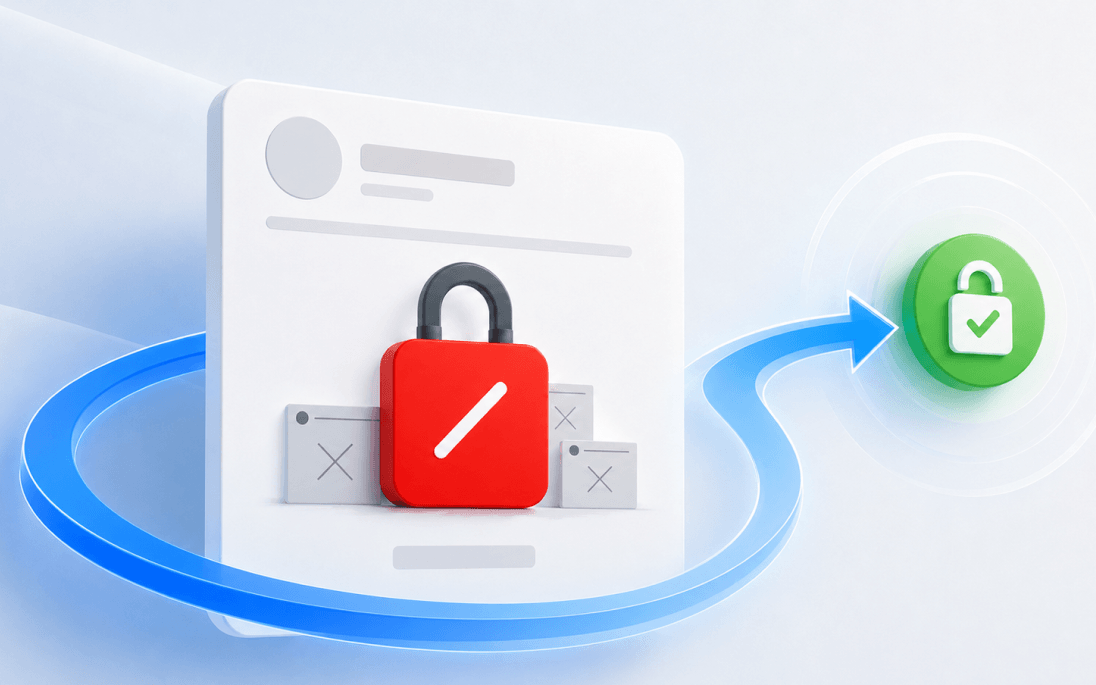
Still sending onboarding emails, sharing PDFs, or jumping on calls just to get access to a client's accounts?
With Leadsie, one secure link handles the entire process. Clients can grant access to Meta, Google, LinkedIn, TikTok, Shopify, and 14+ marketing, advertising, and social media accounts without sharing passwords.
%20540px.gif)
✅ Get access to client accounts in minutes, not days
✅ Replace hours of emails, admin work, and onboarding calls
✅ Scale client onboarding without adding operational overhead
✅ Reduce your agency's turnaround time by over 50%
✅ Start billable work and billing cycles sooner
✅ Create a professional onboarding experience that helps retain clients
✅ Keep access secure with 100% GDPR and CCPA-compliant workflows
Trusted by 1,500+ agencies and brands, Leadsie has helped onboard 189,077+ clients and connect 498,634+ accounts.
🎁 Start your unlimited 14-day trial today—no credit card required.
During your free trial: Onboard unlimited clients and keep the client connections even if you don’t subscribe after. Not enough time to try Leadsie out? No worries, your trial won’t end after 14 days if you have not onboarded 3 clients. Email us if you have any questions! 🤝

Annabel is a freelance content writer. She's spent eight years working in content marketing, turning complex B2B topics into long-form pieces people actually want to read. When she's not writing, you can find her hopping between time zones as a digital nomad, surfing, and adding to her already-too-large vintage clothing collection.


Clients struggling to share access to their
accounts? Get the access you need in minutes with a free trial of Leadsie.
Approved by Meta, Google & Tiktok
Keep access to accounts if you cancel
Secure & 100% GDPR compliant
Delete your onboarding PDF. Cancel the video call. Just send one link, and get hassle-free access to 13+ platforms in minutes. Start free today.
Approved by Meta, Google & Tiktok
Keep access to clients' accounts if you cancel
Secure & 100% GDPR compliant
The Instagram account must be a Business or Creator account (not Personal). If you're using the Meta Business Suite method, ensure the account is added under Business Settings > Accounts > Instagram Accounts. Tools like Leadsie handle these connections automatically without requiring influencers to navigate Meta Business Suite.
The influencer needs to grant "Create Ads" permission in Meta Business Suite. They go to Business Settings > Users > Partners and toggle on "Create Ads" for their Facebook Page and Instagram account. Leadsie automates this: influencers approve access through a link without manual permission configuration.
Meta permissions take 10-15 minutes to activate. Refresh Ads Manager and wait. If permission errors persist, have the influencer resend the partnership request. Leadsie removes the risk of permission delays by handling access through Meta's API.
Check your ad account has active payment methods, hasn't hit spending limits, and the influencer's account hasn't been flagged for policy violations. Check Account Quality in Meta Business Suite to verify the influencer's account status.
Boosting a post has limited targeting options. True Partnership Ads require creating the ad in Meta Ads Manager and selecting the influencer's account as the ad identity during campaign setup. This requires advertiser permissions in Meta Business Suite, not just branded content approval.
Questions unanswered? Check out our help center or get in touch 🤠